

Maintaining a professional blog means more than just hitting “publish” on new content. It’s about managing the wealth of information already in your archives. As your site grows, older articles can sometimes contain information that is no longer current.
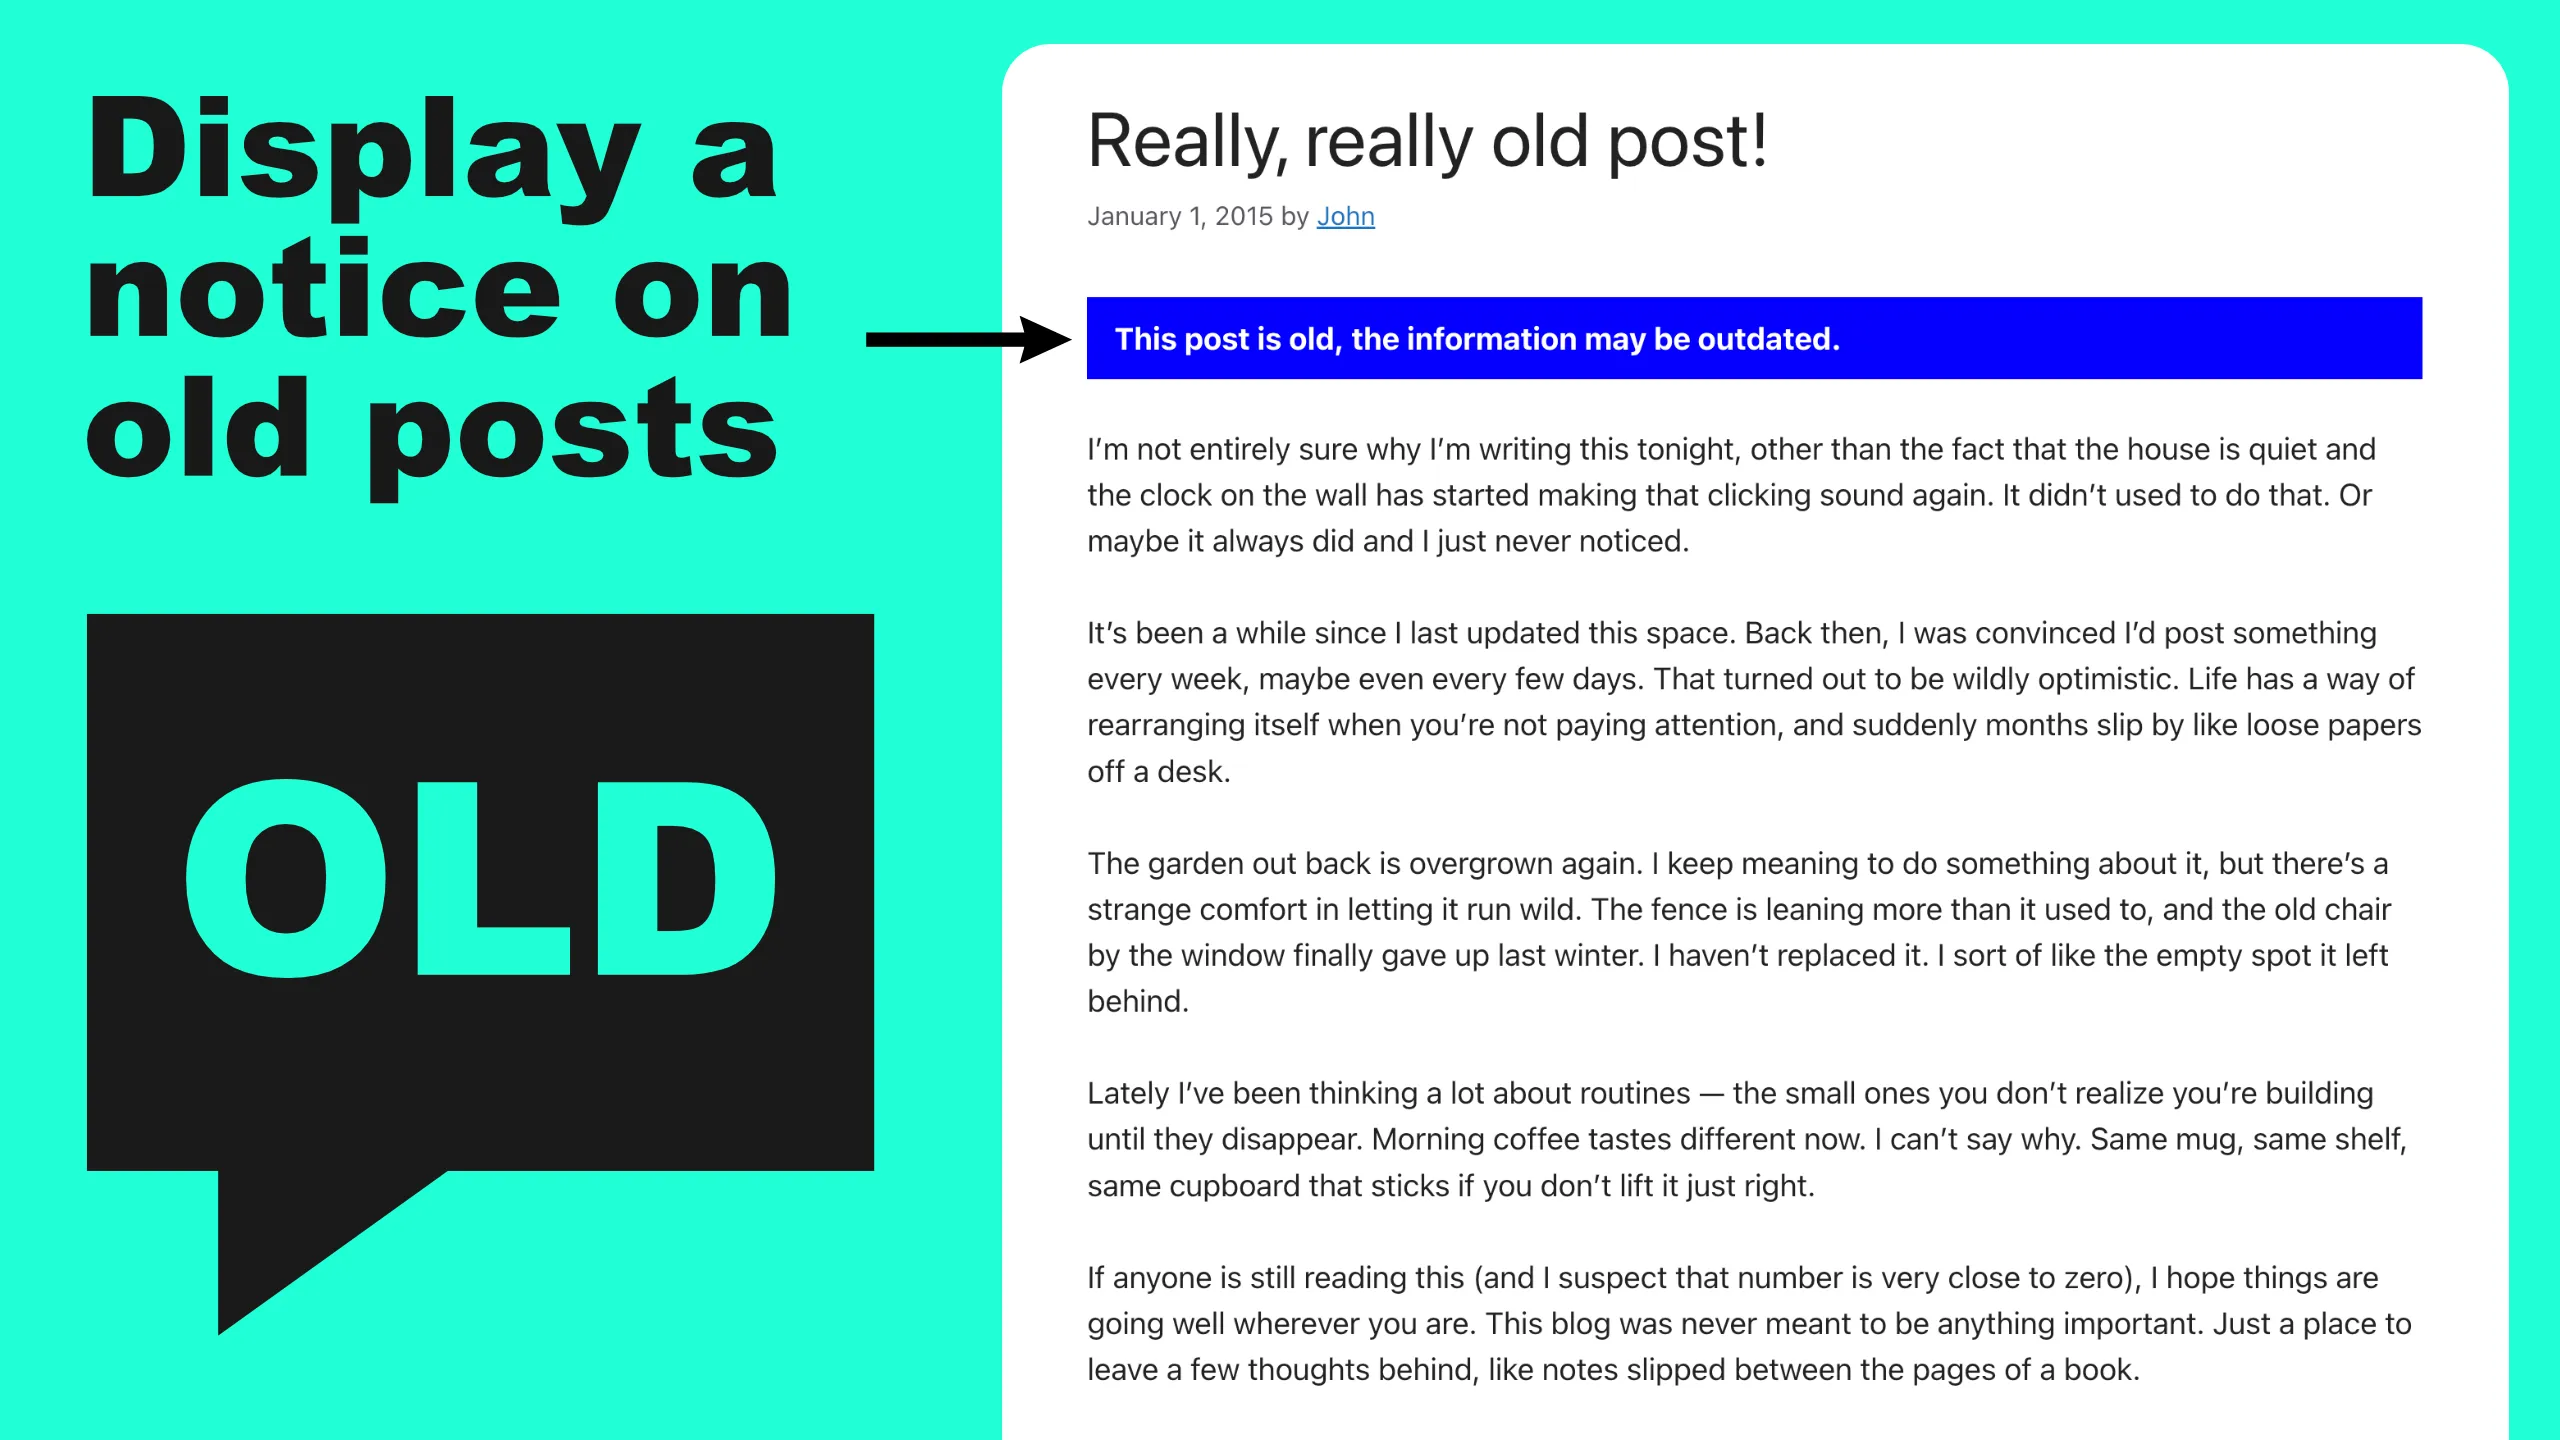
The Old Post Notice plugin allows you to automatically display a notice on old posts to provide your readers with essential context. By using an outdated content alert, you show your audience that you value accuracy, helping to build long-term trust and a better user experience.
Table of Contents
Key Features of Old Post Notice
Keeping your site’s archives informative and transparent is effortless with this suite of automation and customisation tools.
- Global Age Thresholds: Set a time limit (e.g., 365 days) to automatically flag outdated articles site-wide.
- Publication vs. Modified Dates: Choose to trigger notices based on the original post date or the last update.
- Customisable Message: Including use of smart tags and HTML to display the exact age or link to newer content.
- Brand Styling & CSS: Use built-in colour pickers or custom CSS to match your site’s design.
- Individual Post Overrides: Replace or append to the default notice on specific old posts.
- Flexible Placement: Choose to display the alert at the top or bottom of the post.
- Centralised Dashboard: View and manage all “old” posts from a single admin screen or widget.
- Lightweight & SEO-Friendly: Clean code that ensures notices don’t impact page speed or rankings.
How to Set Up Old Post Notice (Step-by-Step)
Setting up your outdated WordPress content strategy is straightforward. Once you have installed and activated the plugin from the WordPress repository, follow these simple steps:
1. Configure Your Global Settings
Head to Settings > Old Post Notice in your WordPress dashboard. Here, you can enable the notice and decide how many days a post should be online before the alert appears. You can also choose whether the “age” is calculated from the published date or the last modified date.
2. Customise Your Message
In the settings panel, you can write a bespoke message for your readers. You can use tags to show exactly how old the post is, and the plugin even supports HTML – allowing you to add a link to your latest blog posts to keep traffic moving through your site.
3. Style to Match Your Brand
Ensure your notice fits your site’s aesthetic. Use the built-in colour pickers to choose a background and text colour that matches your theme. For more advanced users, you can set the styling to “None” and use custom CSS for a completely bespoke design.
4. Enable Dashboard Monitoring
To truly master your WordPress archive management, make sure to enable the Dashboard Page and Dashboard Widget options within the settings.
Once activated, these features provide a comprehensive list under the Posts menu showing every article currently displaying a notice.
The dashboard widget also gives you an “at-a-glance” view on your home screen, making it incredibly easy to identify which historical posts might be ready for a refresh or a modern update.
Verifying Your Setup
Once you have configured your threshold and saved your settings, follow these simple steps to verify that the outdated content alert is live:
- Find an Older Article: Navigate to your Posts menu and find a post that you know exceeds the day-count threshold you set (e.g., if you set the plugin to 360 days, find a post from over a year ago).
- View the Post Live: Open that post in a new browser tab. You should see your custom notice appear in the position you selected (either above or below the content).
- Check a Newer Post: Now, view one of your most recently published articles. If the plugin is working correctly, no notice should appear here, as it hasn’t reached the “old” status yet.
- Verify the Dashboard Widget: Head back to your main WordPress Dashboard (the home screen). If you enabled the widget in the settings, you should now see a list titled “Old Post Notice” showing a selection of your archived content. This confirms the plugin is successfully scanning your database.
Pro-Tip: If the notice doesn’t appear on an old post, try clearing your site’s cache (or your browser cache). If you are using “Last Modified Date” as your trigger, remember that the notice will only appear if the edit date is older than your set threshold!
Strategic Maintenance with Dashboard Insights
One of the most powerful aspects of this plugin is the ability to turn archive management from a chore into a strategy. By enabling the Dashboard Page and Dashboard Widget in the settings, you move beyond simple alerts and gain a comprehensive audit tool.
These features provide a bird’s-eye view of your site’s age distribution. From your WordPress home screen, the widget highlights a selection of posts that have crossed your “old” threshold. This serves as a constant, helpful reminder to revisit high-traffic archives that may need a modern update or a simple fact-check. Instead of manually searching through hundreds of pages, you have a live list of content that is currently being flagged, allowing you to prioritise your maintenance efforts effectively.
Who Benefits Most from Flagging Archived Posts?
While every site benefits from transparency, this outdated content alert is essential for specific niches. For Technical Blogs, it prevents readers from attempting to use deprecated code. For News and Opinion sites, it ensures that historical context isn’t lost in the present day. Even for Lifestyle and Travel bloggers, it manages expectations regarding prices, locations, or seasonal advice that may have changed.
By using Old Post Notice, you aren’t just marking content as old – you are proving to your visitors that you are an active, trustworthy curator of information.